


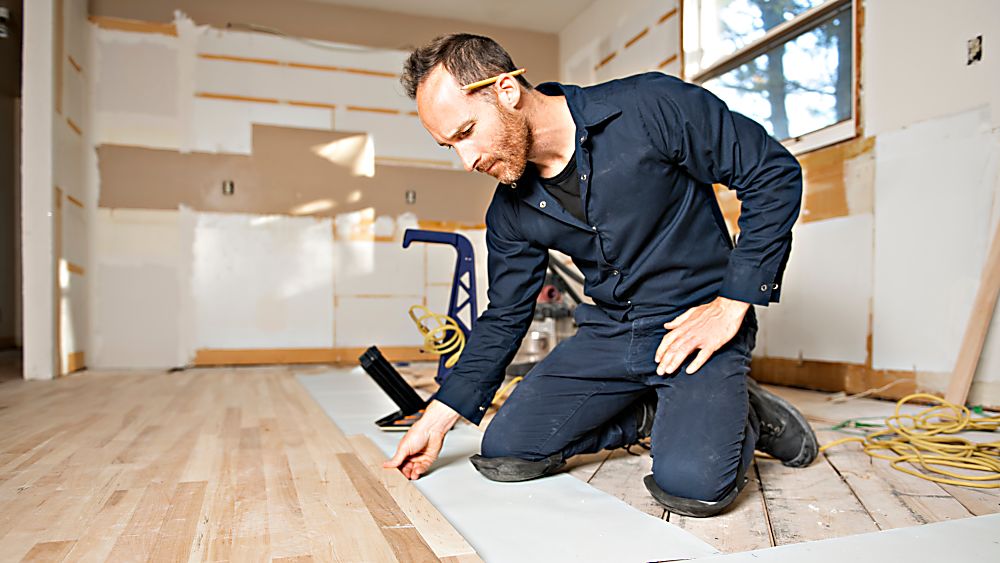
Preparing your concrete subfloor is the most important step to ensure your new flooring stays stable, quiet, and resilient for years to come. Concrete slabs naturally absorb and release ground moisture, and even minor imperfections in the slab can cause click-lock systems to separate over time. As experienced flooring experts, Smart Floors wants to make your installation project straightforward and worry-free by walking you through the critical steps of subfloor preparation.
Step-by-Step Concrete Subfloor Checklist
Taking time to address slab conditions before laying planks protects your investment from common issues like squeaking, cupping, or broken locking joints:
Clear and Clean the Surface: Scrape away existing adhesive residues, paint, plaster, and loose dirt. Vacuum thoroughly so no grit remains under your underlayment.
Test for Excess Moisture: Concrete is inherently porous and wicks moisture upward. Testing relative humidity levels helps you protect your laminate flooring against moisture damage, buckling, and subfloor mold.
Inspect Slab Flatness: Place a ten-foot straightedge across multiple directions of the floor. Any variance greater than three-sixteenths of an inch across that span must be addressed.
Grind High Spots and Level Low Spots: Grind down raised ridges and fill low pockets with a high-strength self-leveling underlayment compound, allowing it to cure completely.
Lay a Dedicated Vapor Barrier: Concrete installations require an approved six-mil polyethylene sheet or underlayment with a built-in moisture barrier to seal out subfloor vapor.
Achieving Professional Results
Taking shortcuts during subfloor preparation often leads to hollow sounds underfoot or early board fatigue. Choosing a trusted flooring company ensures that every slab is leveled, dried, and tested in accordance with strict manufacturer standards. Whether you are updating a single bedroom or remodeling an entire living area, our specialized flooring installation ensures your planks lay flat and perform reliably for decades.
Beyond laminate, many homeowners also explore durable alternatives such as luxury vinyl, tile, and hardwood. Our dedicated specialists are always available to help you compare materials, assess existing conditions, and find the right match for your home design and family lifestyle.
Ready to make a smart choice for your upcoming remodel? Stop by and browse extensive product displays at our local flooring galleries in Bonita Springs, FL and Cape Coral, FL. If you prefer to view samples under your own lighting in Marco Island, Naples, Estero, Ft. Myers, Port Charlotte, Punta Gorda, or North Port, our mobile shop at home team will bring hundreds of styles directly to your door. Reach out to Smart Floors today to schedule your consultation and turn your design ideas into reality.
Frequently Asked Questions
Do I always need a moisture barrier over concrete slabs?
Yes. Concrete transmits water vapor from the ground continuously. Without an impermeable vapor barrier beneath the planks, moisture can seep into the plank core, causing the joints to swell and warp.
How flat must concrete be before installing floating planks?
The subfloor should deviate no more than three-sixteenths of an inch over a ten-foot radius. Excess dips cause the floating floor to deflect downward when walked on, stressing the tongue-and-groove system.
Can I install planks over painted or sealed concrete?
Yes, as long as the paint or sealer is firmly bonded and the surface is flat. However, if leveling compounds are needed, glossy paint must be ground off so the patching compound can adhere properly.


